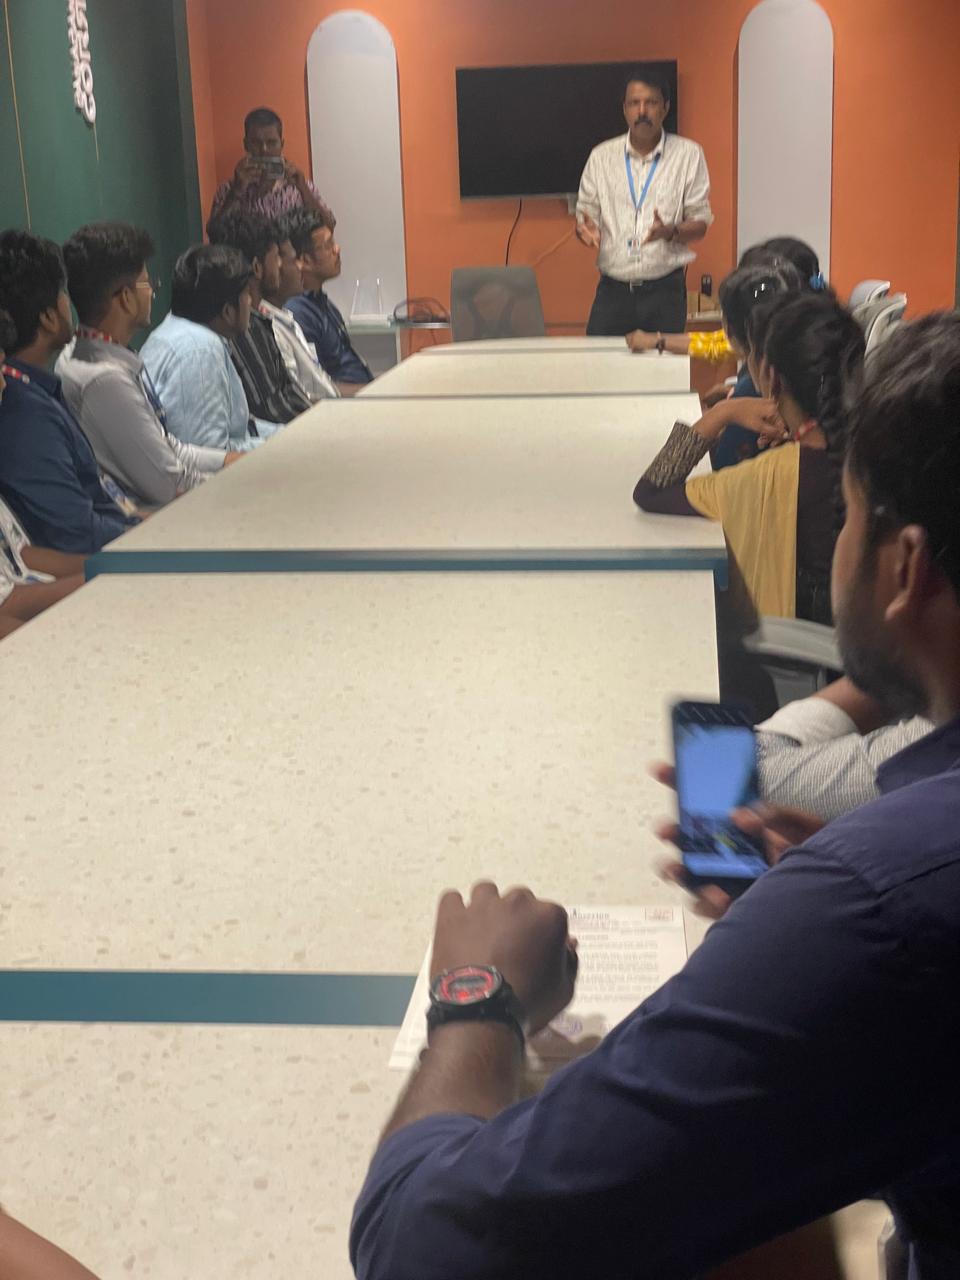

UI/UX Design Online Live Class by Experts
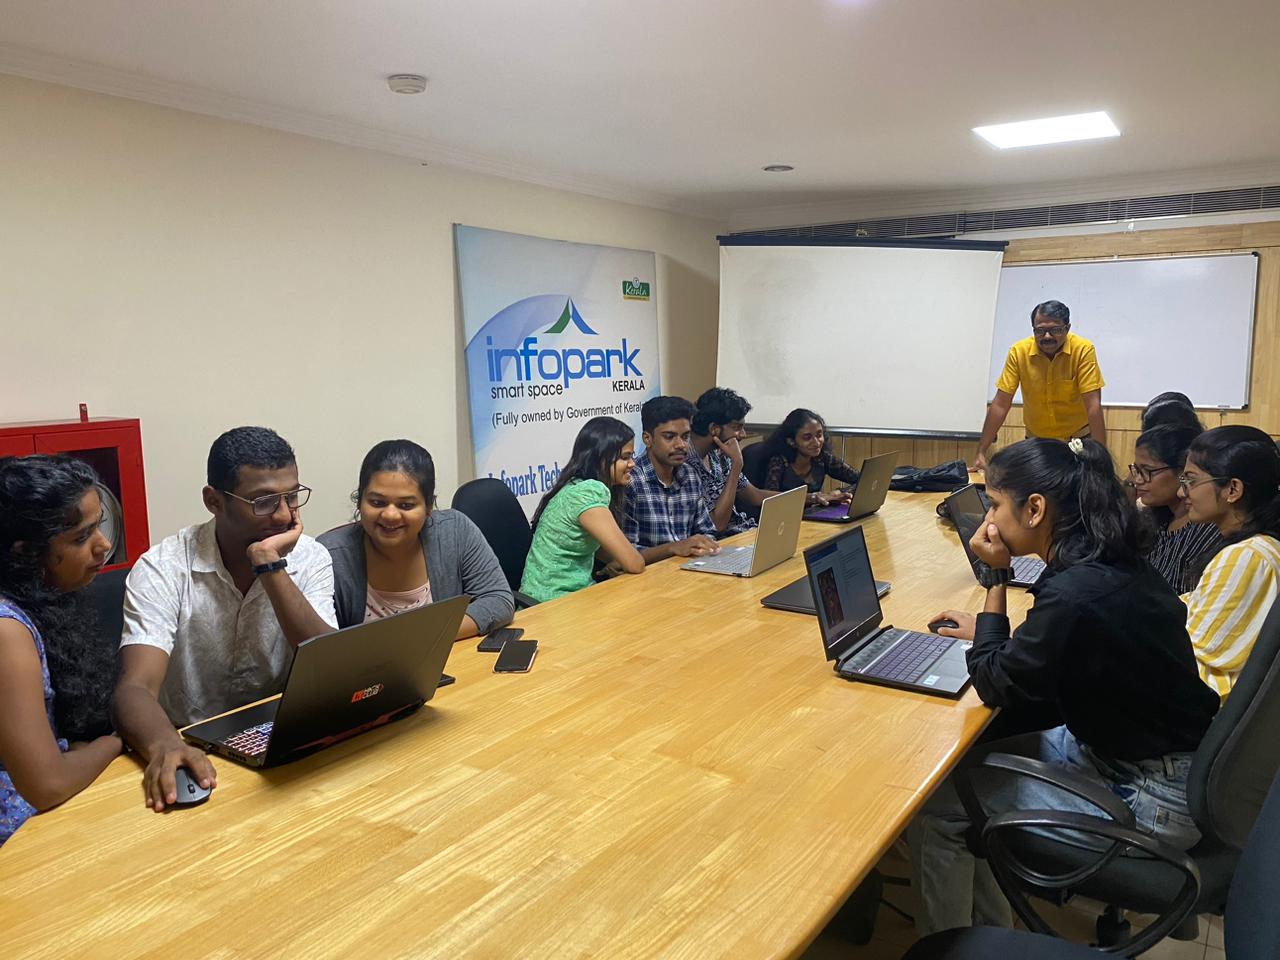
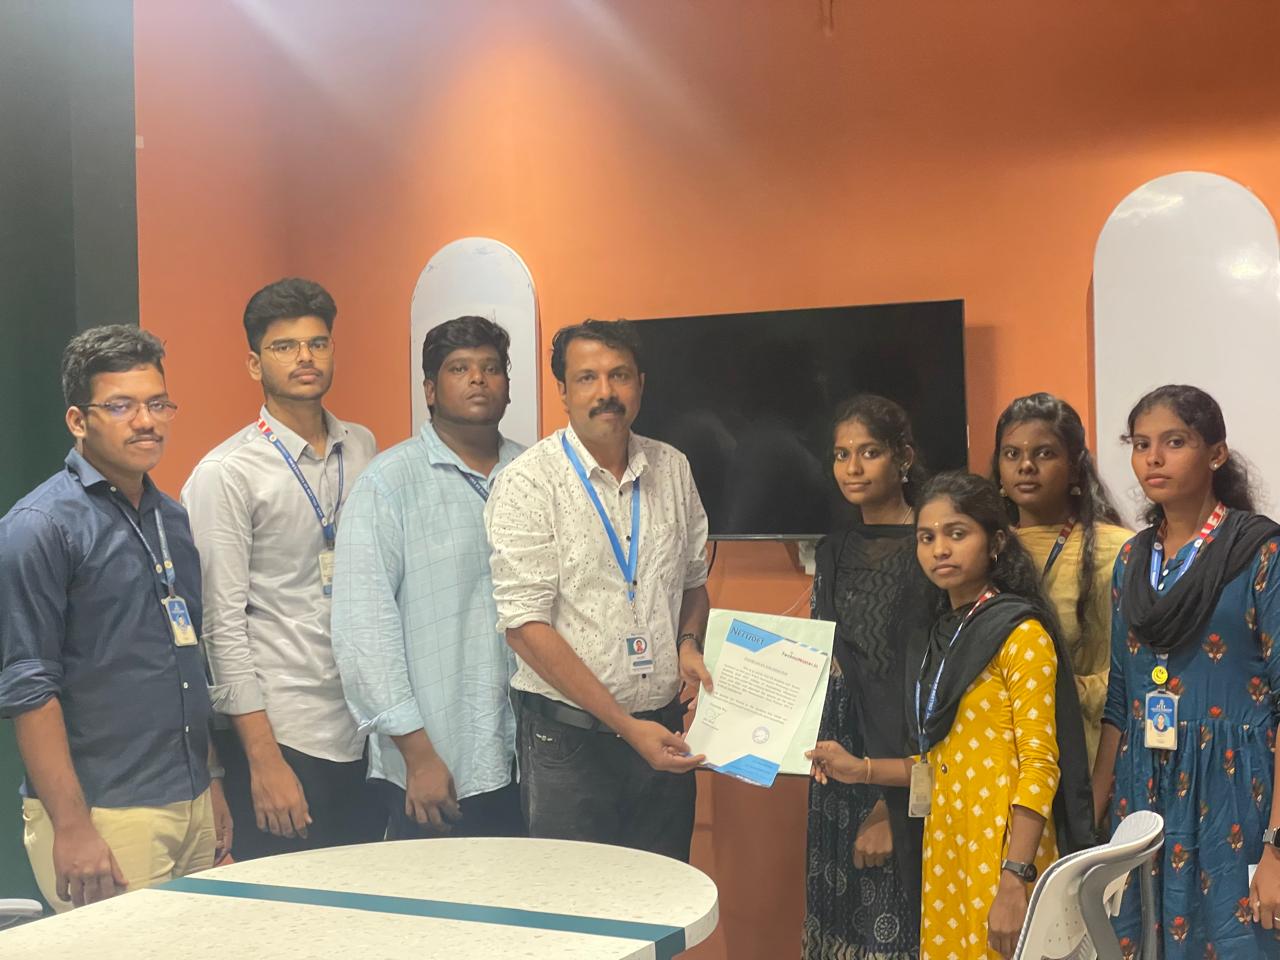
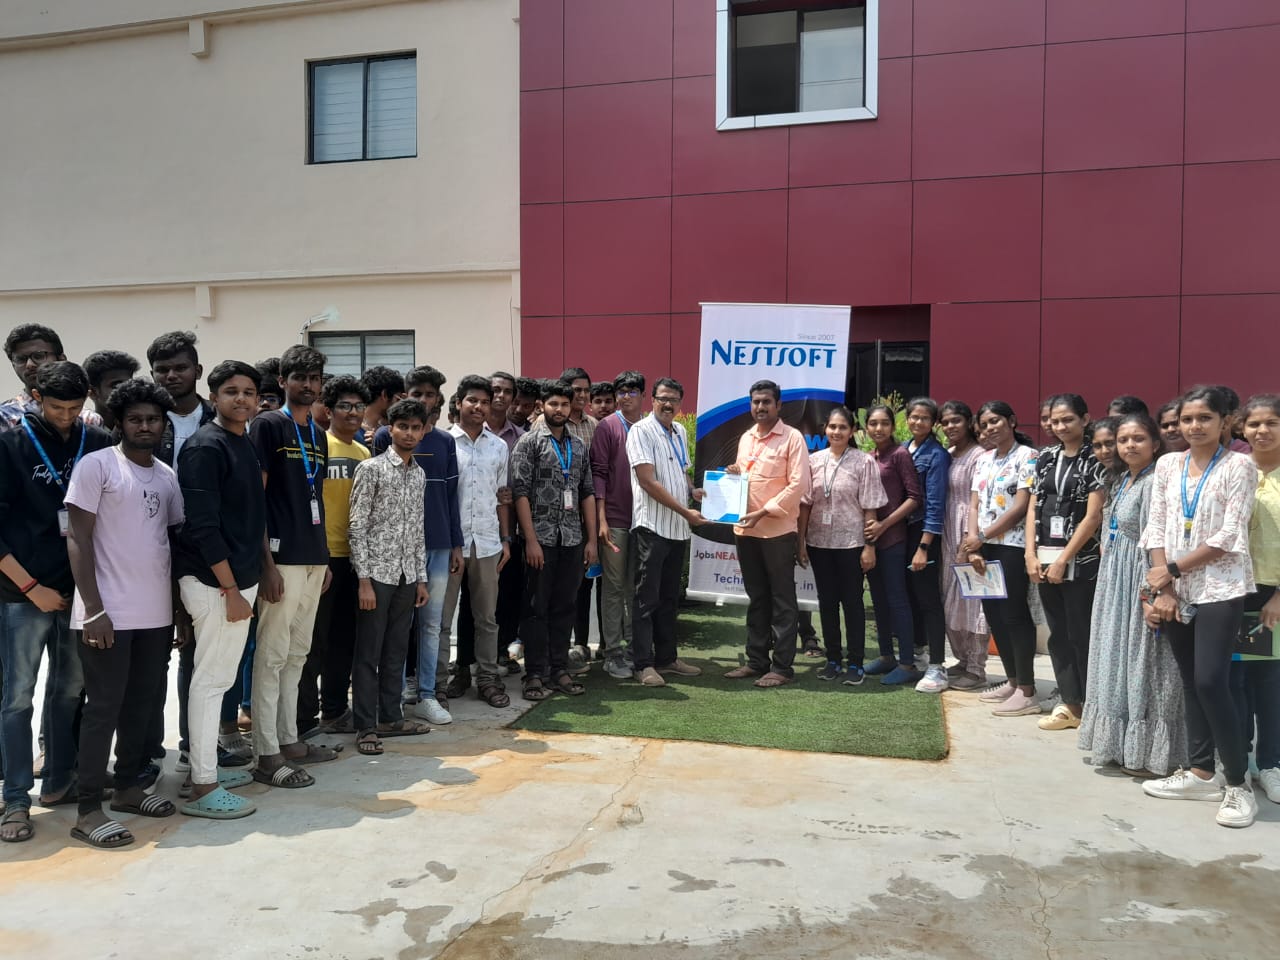
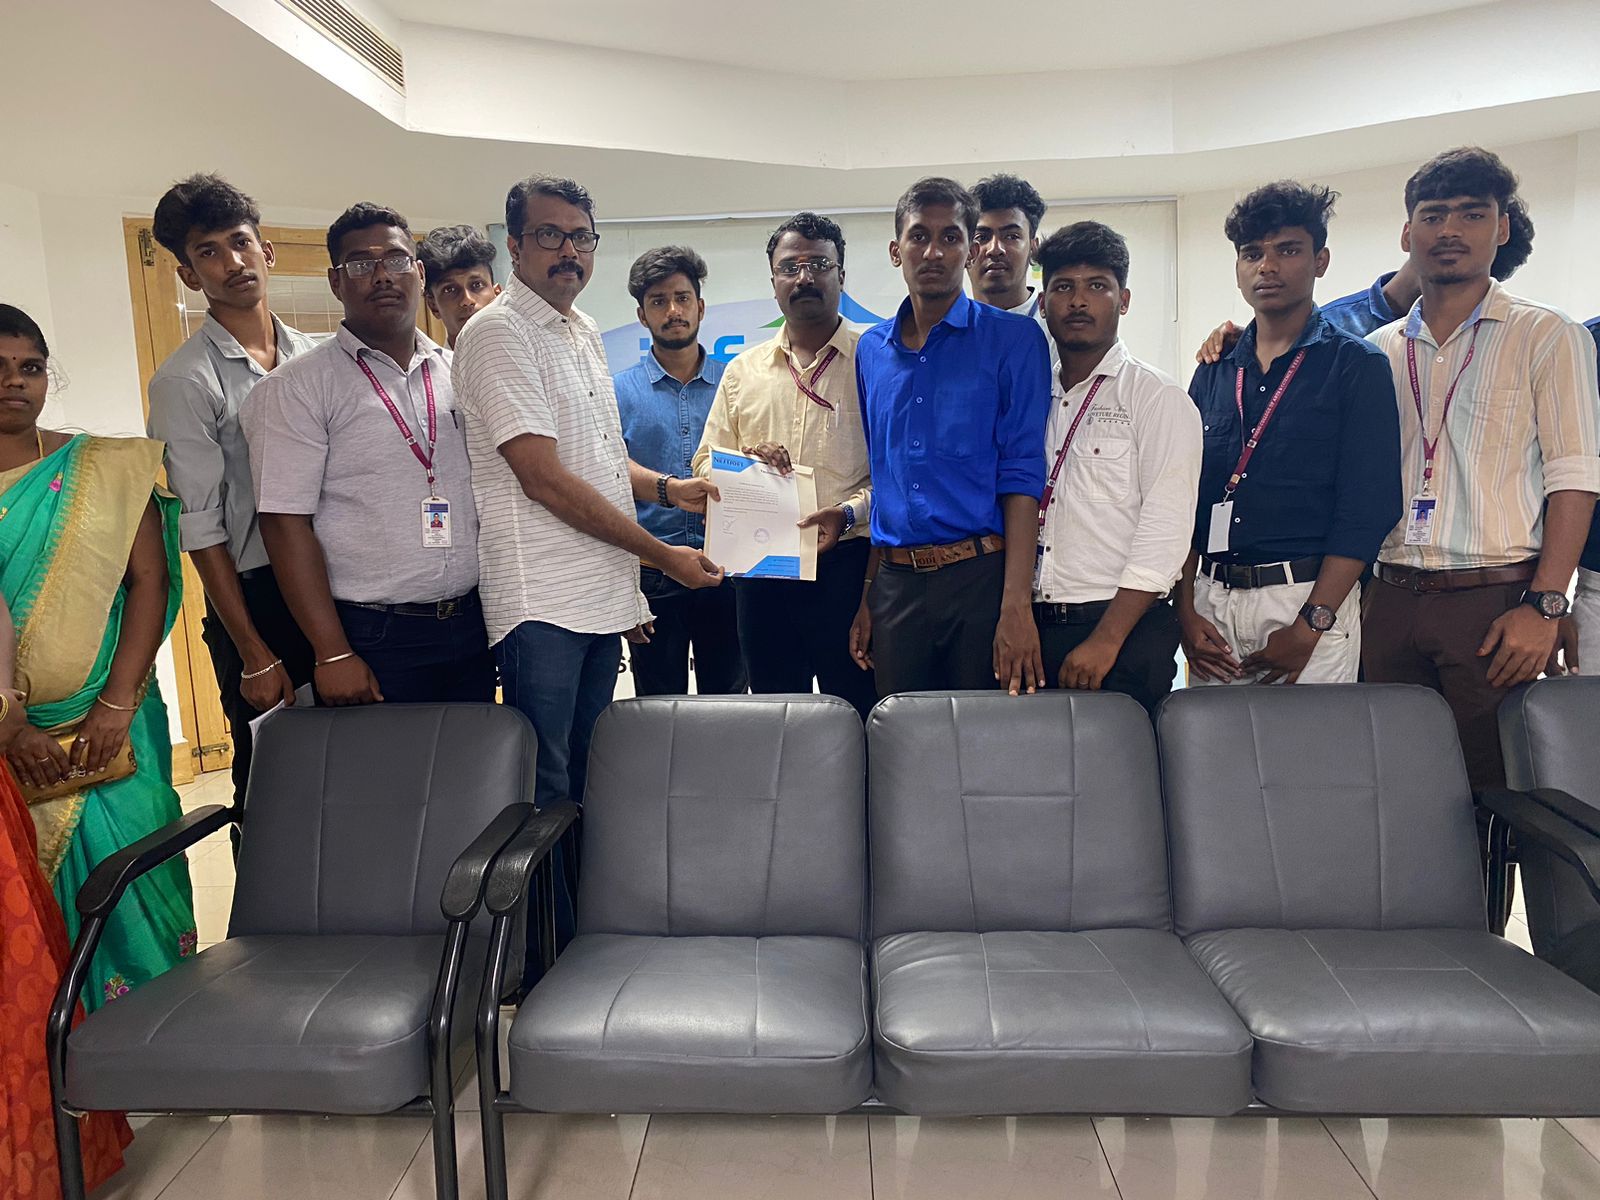
Our Training/Internship Process

UI/UX Design - Syllabus, Fees & Duration
Figma Syllabus (15 Hours)
- Understanding the Figma interface and tools.
- Layers, frames, and pages.
- Shapes, text, and alignment.
- Color theory and typography basics.
- Grids and layout principles.
- Creating low-fidelity wireframes for mobile and web apps.
- Adding interactions and transitions.
- Clickable prototypes for user testing.
- Screens for a sample app (e.g., task manager or food delivery).
- Login, home, and profile pages.
- Reusable buttons, icons, and cards.
- Typography and color styles.
- Linking screens and testing navigation.
- Landing page, login screen, and dashboard for a web app.
- Auto-layout for responsive designs.
- Responsive breakpoints for desktop, tablet, and mobile.
- Functional prototype with interactions.
- Structuring web pages (header, footer, sections).
- Essential tags: headings, lists, images, and links tables etc..
- Styling text and layout using CSS.
- Box model, positioning, and Flexbox basics.
- Setting up Bootstrap in a project.
- Grid system and responsive layouts.
- Common components: navbar, buttons, and cards.
- Importing Figma designs for reference.
- Structuring HTML and CSS with Bootstrap.
- Using media queries and Bootstrap utilities.
- Creating a responsive navigation bar and hero section.
- Ensuring design consistency with the Figma prototype.
- Adding interactivity with JavaScript (e.g., form validation).
- Bootstrap JavaScript components: modals, dropdowns, and carousels.
- Enhancing visuals with hover effects and animations.
- Convert a complete Figma design into a functional landing page.
- Use Bootstrap and JavaScript for responsiveness and interactivity.
- Publish the project online using GitHub Pages or Netlify.
- Prototyped mobile app and web app designs.
- Fully responsive landing page with Bootstrap and interactivity.
- Hosted live project link.
Module 1: Figma Fundamentals (3 Hours)
Introduction to Figma
Design Basics
Module 2: Prototyping with Figma (3 Hours)
Wireframing Basics
Prototyping Features
Module 3: Mobile App Design Project (4 Hours)
Designing a Mobile App
Components and Variants
Prototyping and Feedback
Module 4: Web App Design Project (5 Hours)
Designing a Web App
Final Prototype
Web Development Syllabus (15 Hours)
Module 1: HTML, CSS, and Bootstrap Basics (5 Hours)
HTML Fundamentals (2 Hours)
CSS Basics (2 Hours)
Bootstrap Basics (1 Hour)
Module 2: Responsive Landing Page Conversion (5 Hours)
Figma to Code Workflow (2 Hours)
Responsive Design (3 Hours)
Module 3: Interactivity with JavaScript & Advanced Bootstrap (3 Hours)
JavaScript Basics
CSS Animations & Transitions
Module 4: Final Project and Deployment (2 Hours)
Final Project: Responsive Landing Page
Hosting and Deployment
Deliverables
Figma:
Web Development:
This syllabus is not final and can be customized as per needs/updates
- Since 2001, Making IT Experts by Experts
- Duration: 30 Hours (Vary as per your skill)
- Course Fees
- Individual Live Classes (1:1)
- Batch Classes @ Low Fees
- Training on Your Time, Any Where
- Access to Recorded Videos
- Practical Internship on Projects
- 100% Placement Support by our jobsNEAR.in
- Training/Internship Certificate
- Atlanta
- Austin
- Baltimore
- Boston
- Charleston
- Charlotte
- Chicago
- Colorado Springs
- Columbus
- Dallas
- Denver
- Detroit
- Fort Worth
- Fresno
- Honolulu
- Houston
- Indianpolis
- Jacksonville
- Kansas City
- Las Vegas
- Lausanne
- Los Angeles
- Lousville
- Memphis
- Miami
- Milwaukee
- Minneapolis
- Nashville
- New Orleans
- New York
- Oklahoma City
- Omaha
- Philadelphia
- Phoenix
- Portland
- Raleigh
- Sacramento
- San Antonio
- San Diego
- San Francisco
- San Jose
- Seattle
- Tampa
- Tucson
- Tulsa
- Virginia Beach
- Washington
- Wichita
Course Highlights

Our Locations

 The most recent unleash is compatible with each raincoat OS and Windows operating systems, permitting users to create the same workflow irrespective of what variety of computer they are using. Literally, you'll create anything with Adobe Photoshop software. For anyone who wants to do something productive in computers, Adobe Photoshop provides options that explore creativity . Nestsoft come up with the best bootstrap training inDubai include all the major topics such as HTML, and CSS, essentials, Bootstrap 3, Bootstrap 4, UI Bootstrap components, Bootstrap themes and will prepare strong fundamentals and proficient in bootstrap web development. Photoshop includes a selection of quality tools and is easily customizable to fit your work style. Most of graphic designers use photoshop for their professional work because photoshop is one of the most professional editing software available today. Photoshop may be a powerful and widespread image editing software that helps you to apply numerous effects easily and acquire consistent results. Completing this CSS training at nessoft inDubai u can step ahead in your career as a website designer and create the latest interactive pages for your website viewers. concepts such as clusters, variables, operators, functions, and control structure in JavaScript Demonstrable knowledge of Functions - Passing the data to functions, JavaScript Function Syntax, Concise Body syntax, Return Keyword, and ES6 arrow functions basics of jQuery that assist you to boost your skills in Scriptwriting. Your works on the projects make easier and more efficient by adding special effects or interesting features on plugins and you can use various tools like brushes, overlays, fonts, and textures etc.